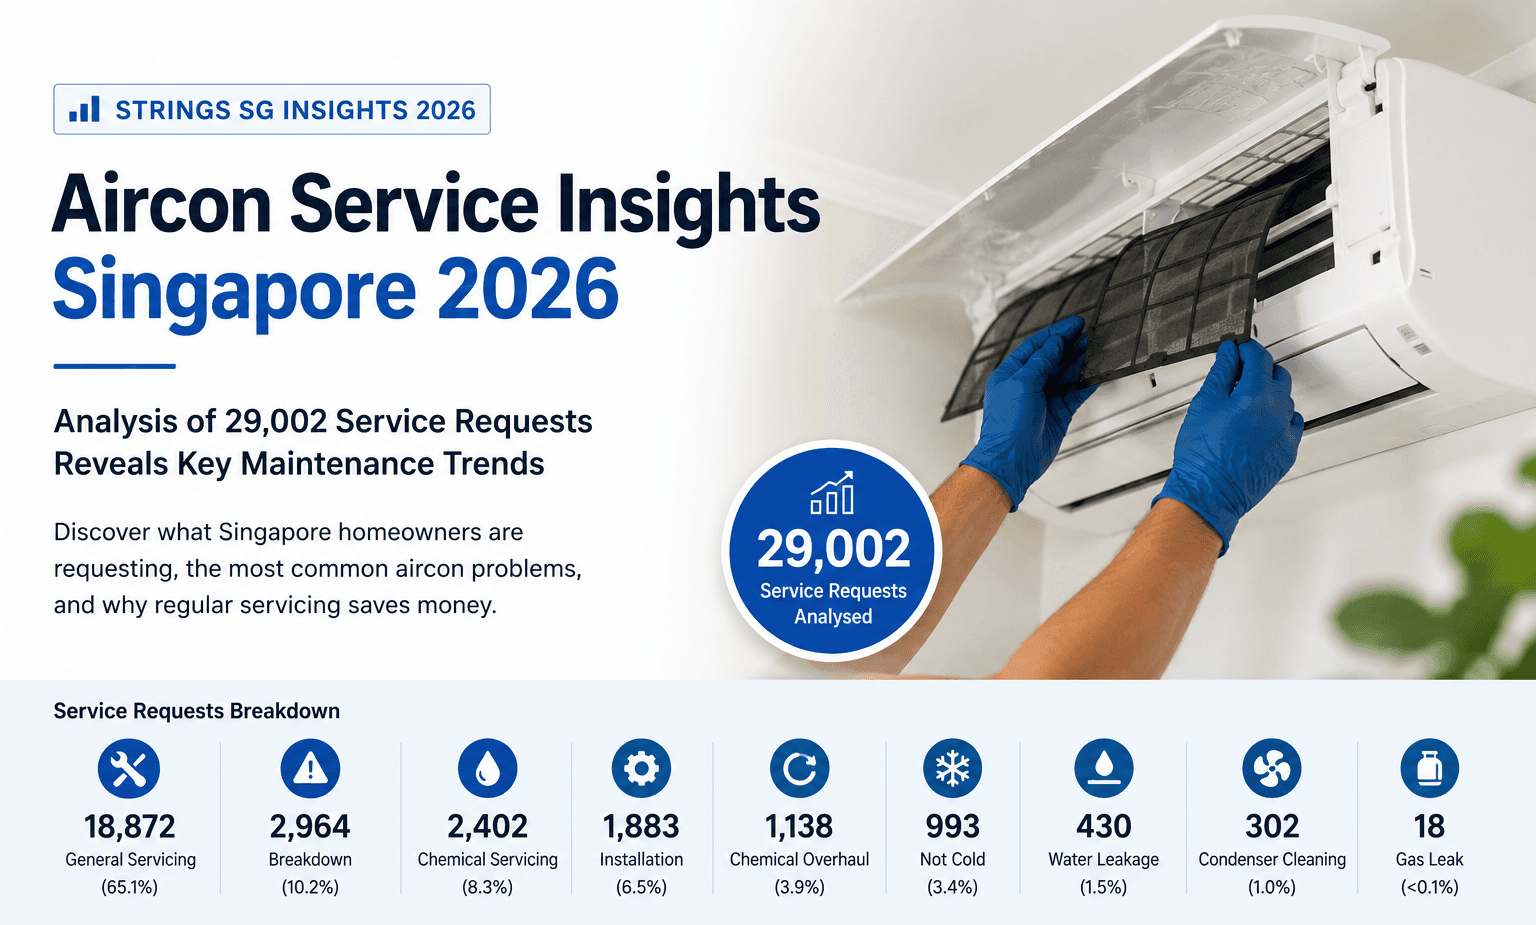
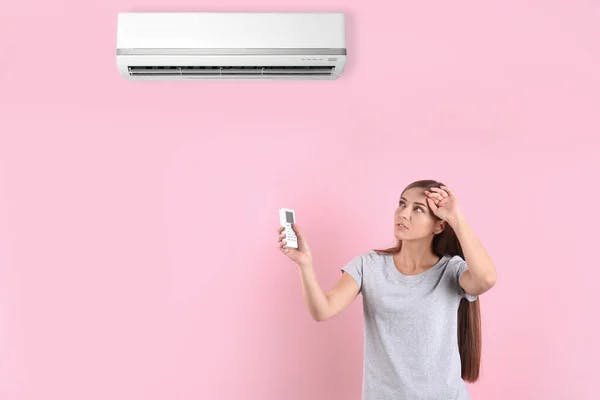
In tropical climates like Singapore, air conditioners are essential for daily comfort. But over time, dust, mold, and grime can build up inside your unit, leading to reduced cooling performance and higher energy bills. A chemical wash is one of the most effective ways to restore your aircon’s efficiency and improve indoor air quality.
While a full chemical overhaul is best left to professionals, a careful DIY aircon chemical wash can help you maintain your unit in between servicing—saving you money and extending its lifespan.
Follow these 8 essential steps to perform your own aircon chemical wash safely and effectively:
1. Safety Precautions
Before you begin, gear up for protection. Wear gloves, goggles, and a face mask to shield yourself from dust and cleaning chemicals. Make sure the area is well-ventilated and that you have all tools and cleaning solutions ready.
2. Turn Off the Power
Always switch off the power supply at the circuit breaker before working on your air conditioner. This is a critical step to prevent electrical shock or short-circuiting during cleaning.
3. Clean the Exterior
Start by wiping down the outer casing of your indoor unit using a damp cloth or sponge. Remove dust, grime, and any loose dirt. Be gentle around delicate fins and avoid pressing too hard on plastic covers or vents.
4. Remove and Clean the Filter
Open the front panel and remove the air filter.
- For light cleaning: Rinse under water or use a handheld vacuum.
- For deeper cleaning: Use a mild detergent or Biget spray (a popular cleaner) and rinse thoroughly in the bathroom.
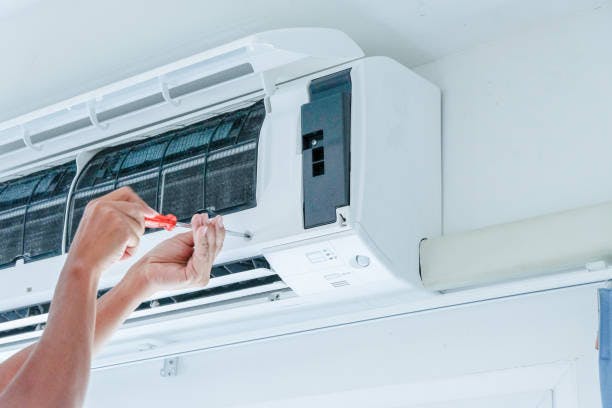
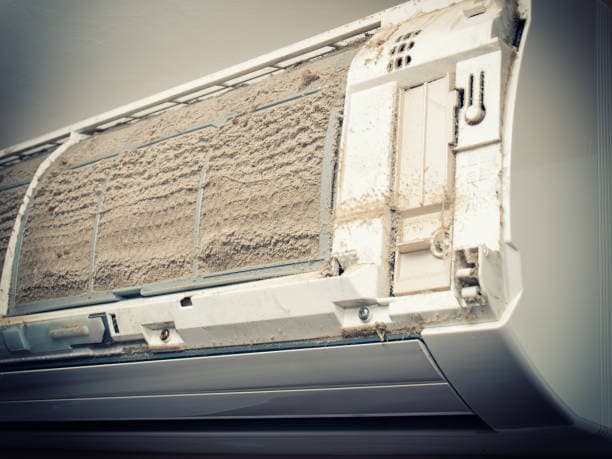
5. Clean the Evaporator Coils
The evaporator coils inside your aircon absorb heat and are key to cooling. If they’re dirty, your system will struggle to cool effectively.
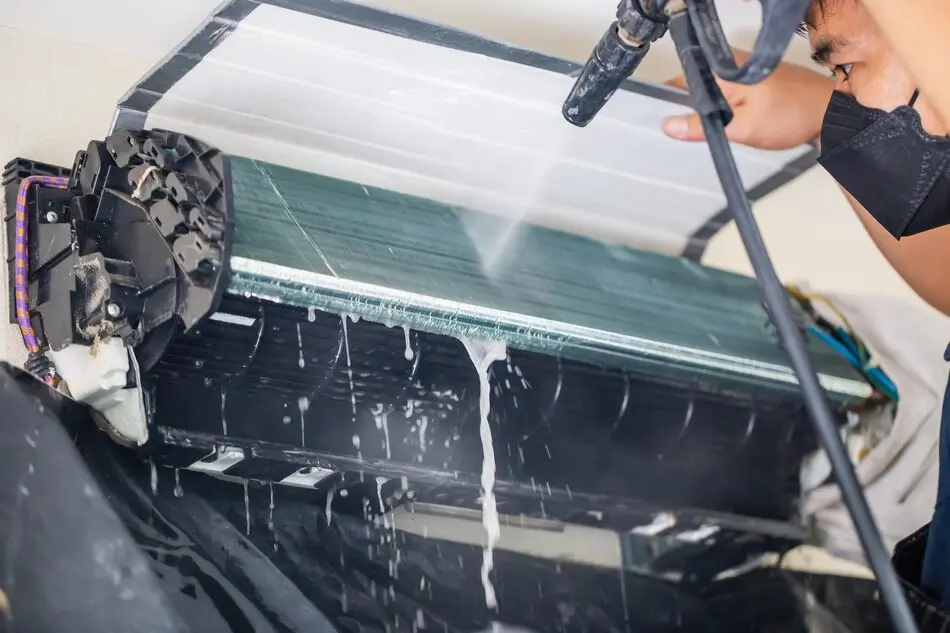
- Carefully remove the front panel to access the coils.
- Spray a chemical coil cleaner onto the coils and let it sit as instructed (usually 5–10 minutes).
- Rinse off with clean water—avoid spraying directly on wires or electronic parts.
Note: If your evaporator coils are heavily caked with dirt, consider calling a technician for a full chemical overhaul.
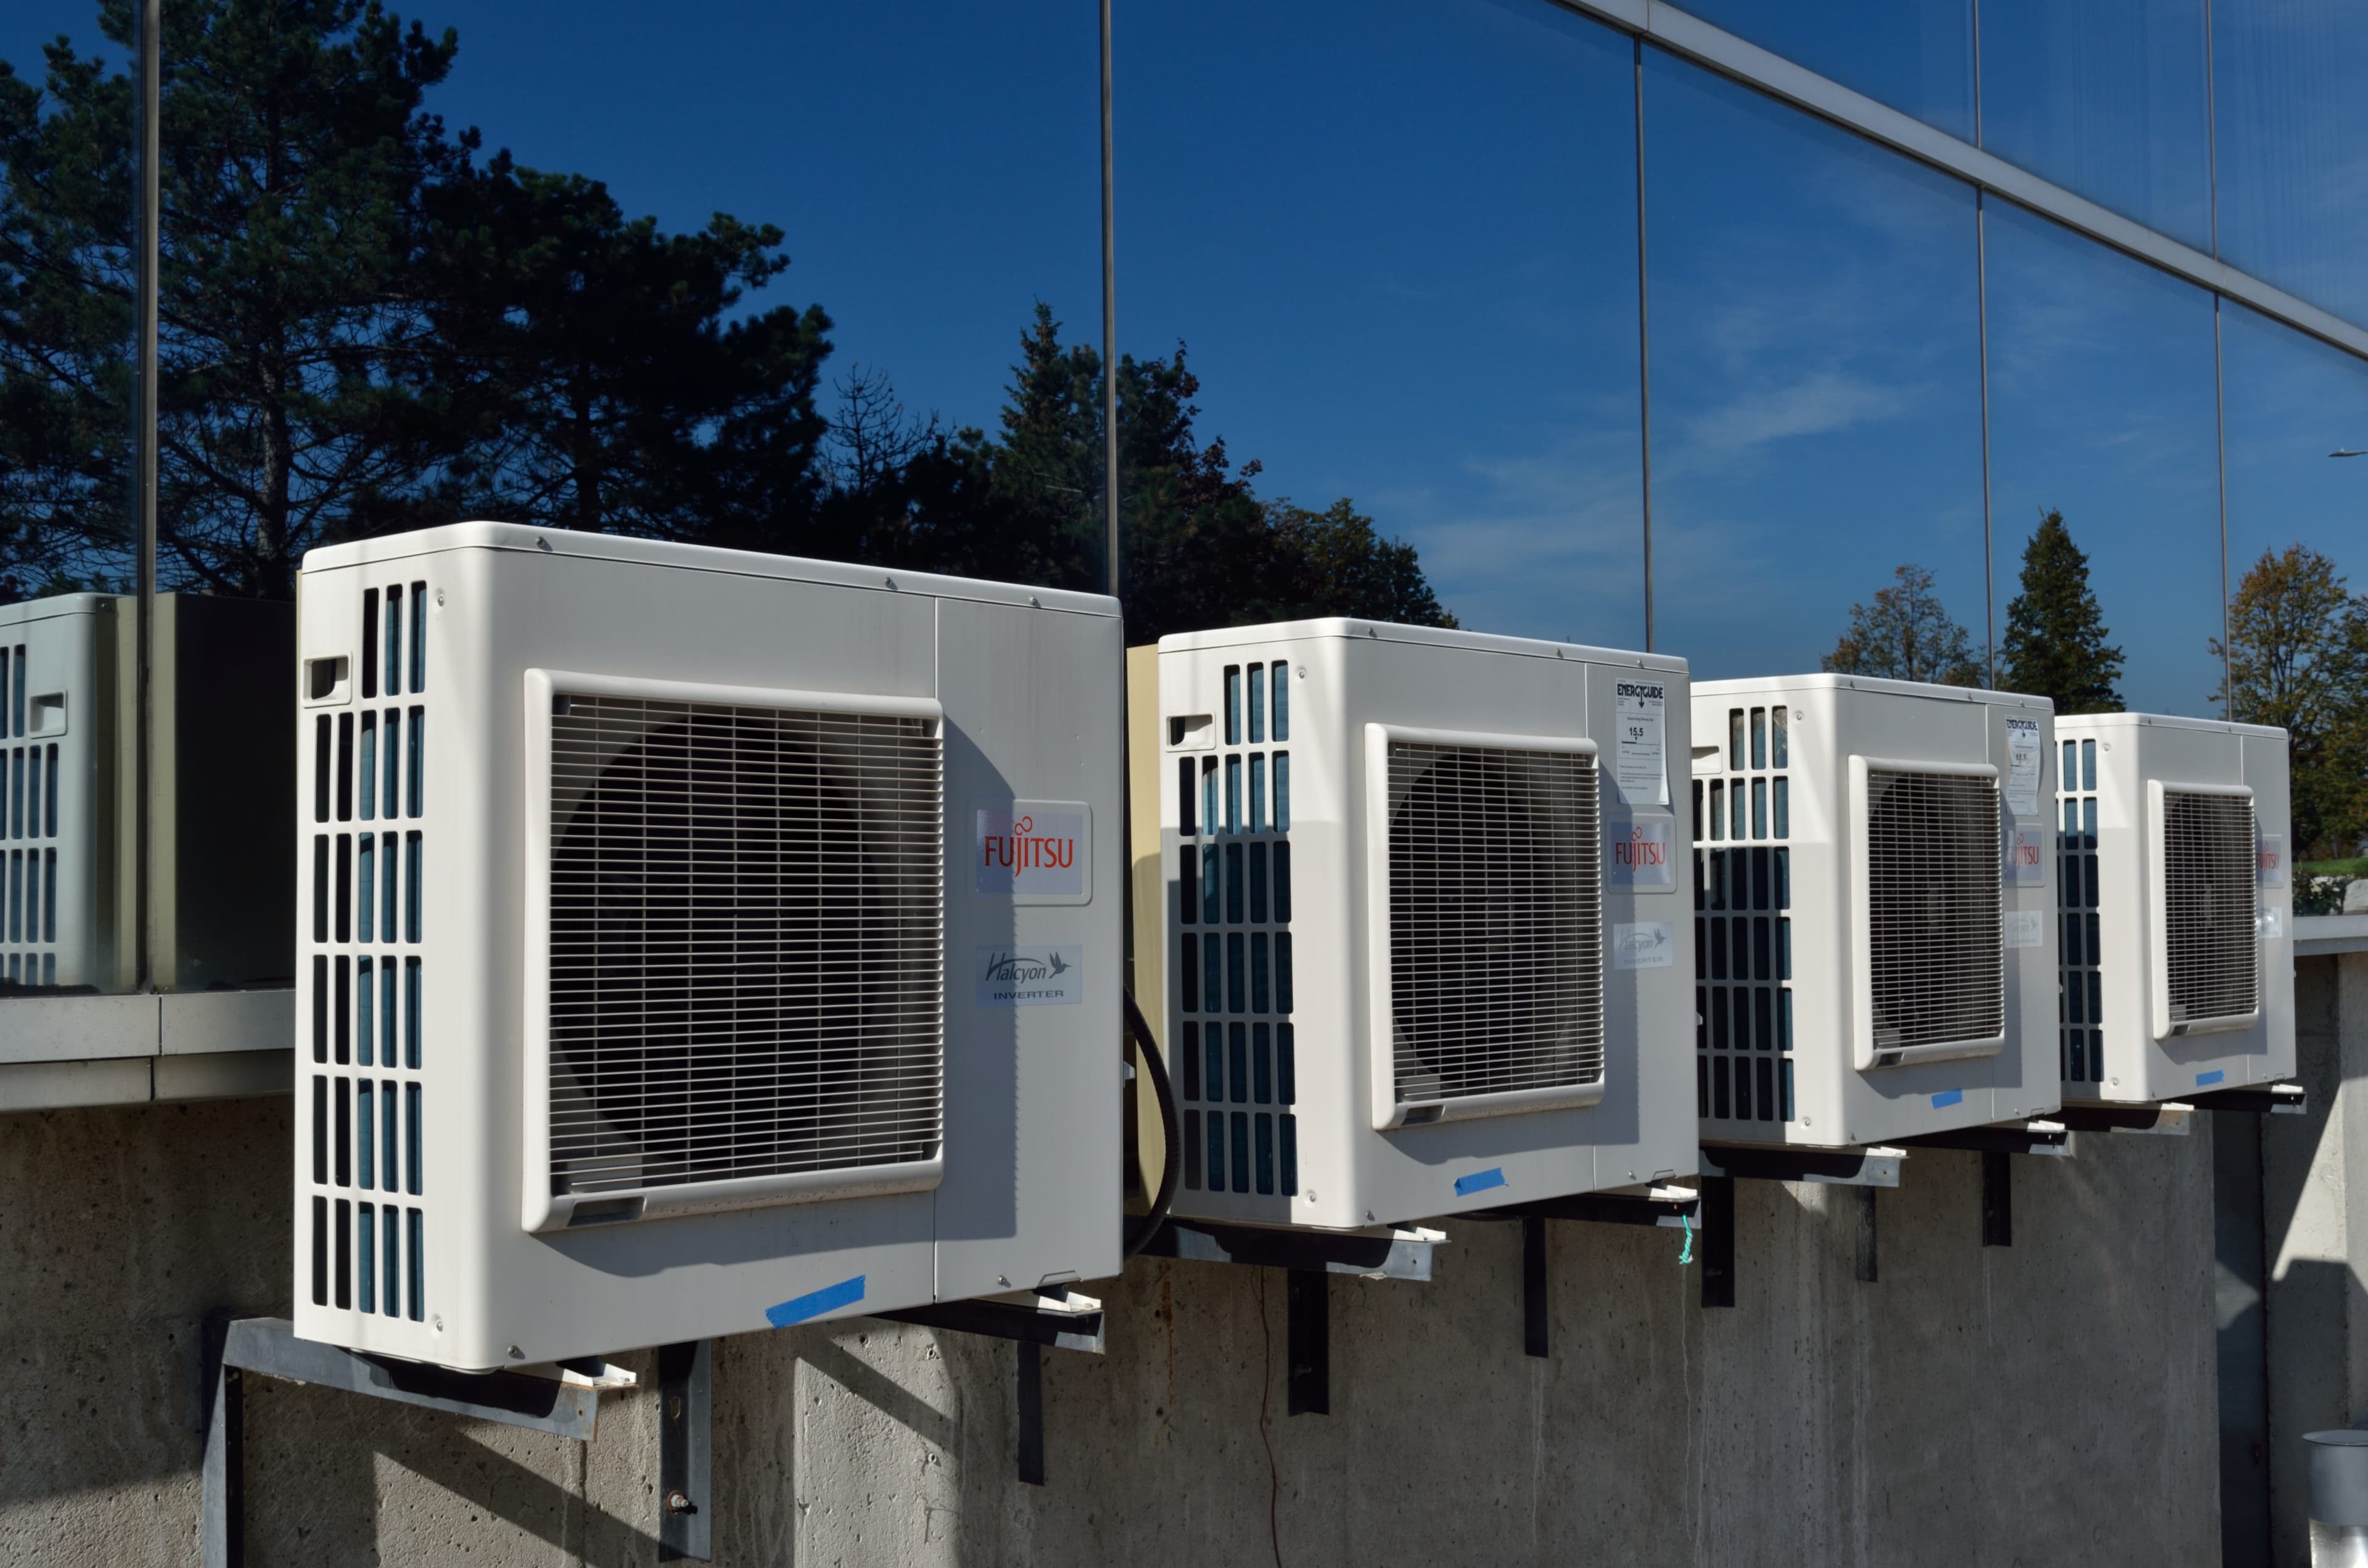
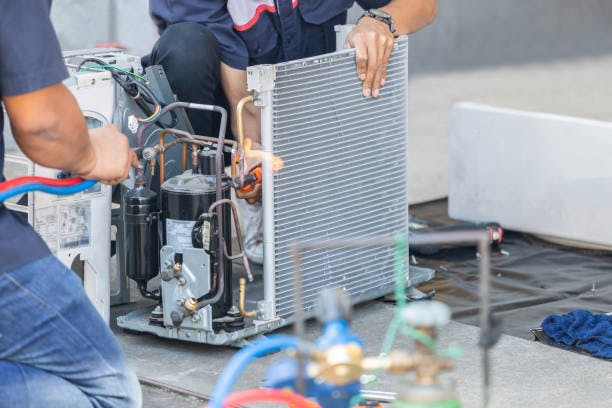
6. Clean the Condenser Unit (Outdoor Unit)
Head outside to your condenser unit (usually located on the ledge, balcony, or rooftop).
- Use a hose or low-pressure washer to gently clean the condenser coils and fins.
- Remove any leaves, dust, or debris around the unit to maintain proper airflow.
- Be careful not to bend the delicate aluminum fins.
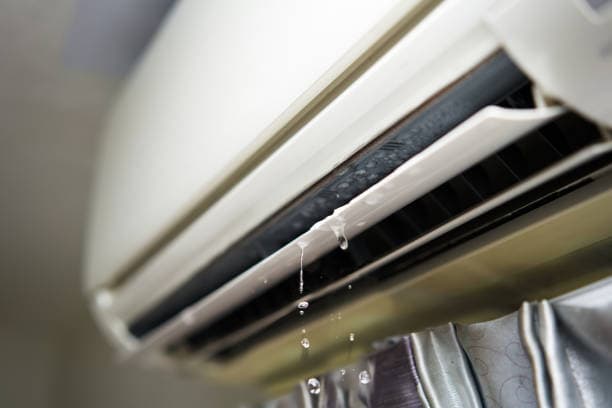
7. Clear the Drainage System
A clogged drainage pipe can cause leaks or foul smells. Locate the drainpipe and use a brush, pipe cleaner, or a flush of warm water and mild bleach to clear any blockages. Ensure water flows freely out of the drain outlet.
8. Reassemble and Test
Once everything is clean and dry:
- Reinstall the air filter and any panels you removed.
- Restore the power at the breaker.
- Turn on your aircon and let it run for 15–20 minutes.
Observe for strong airflow, no abnormal sounds, and steady cooling. If everything checks out—you’ve just completed a successful DIY chemical wash!
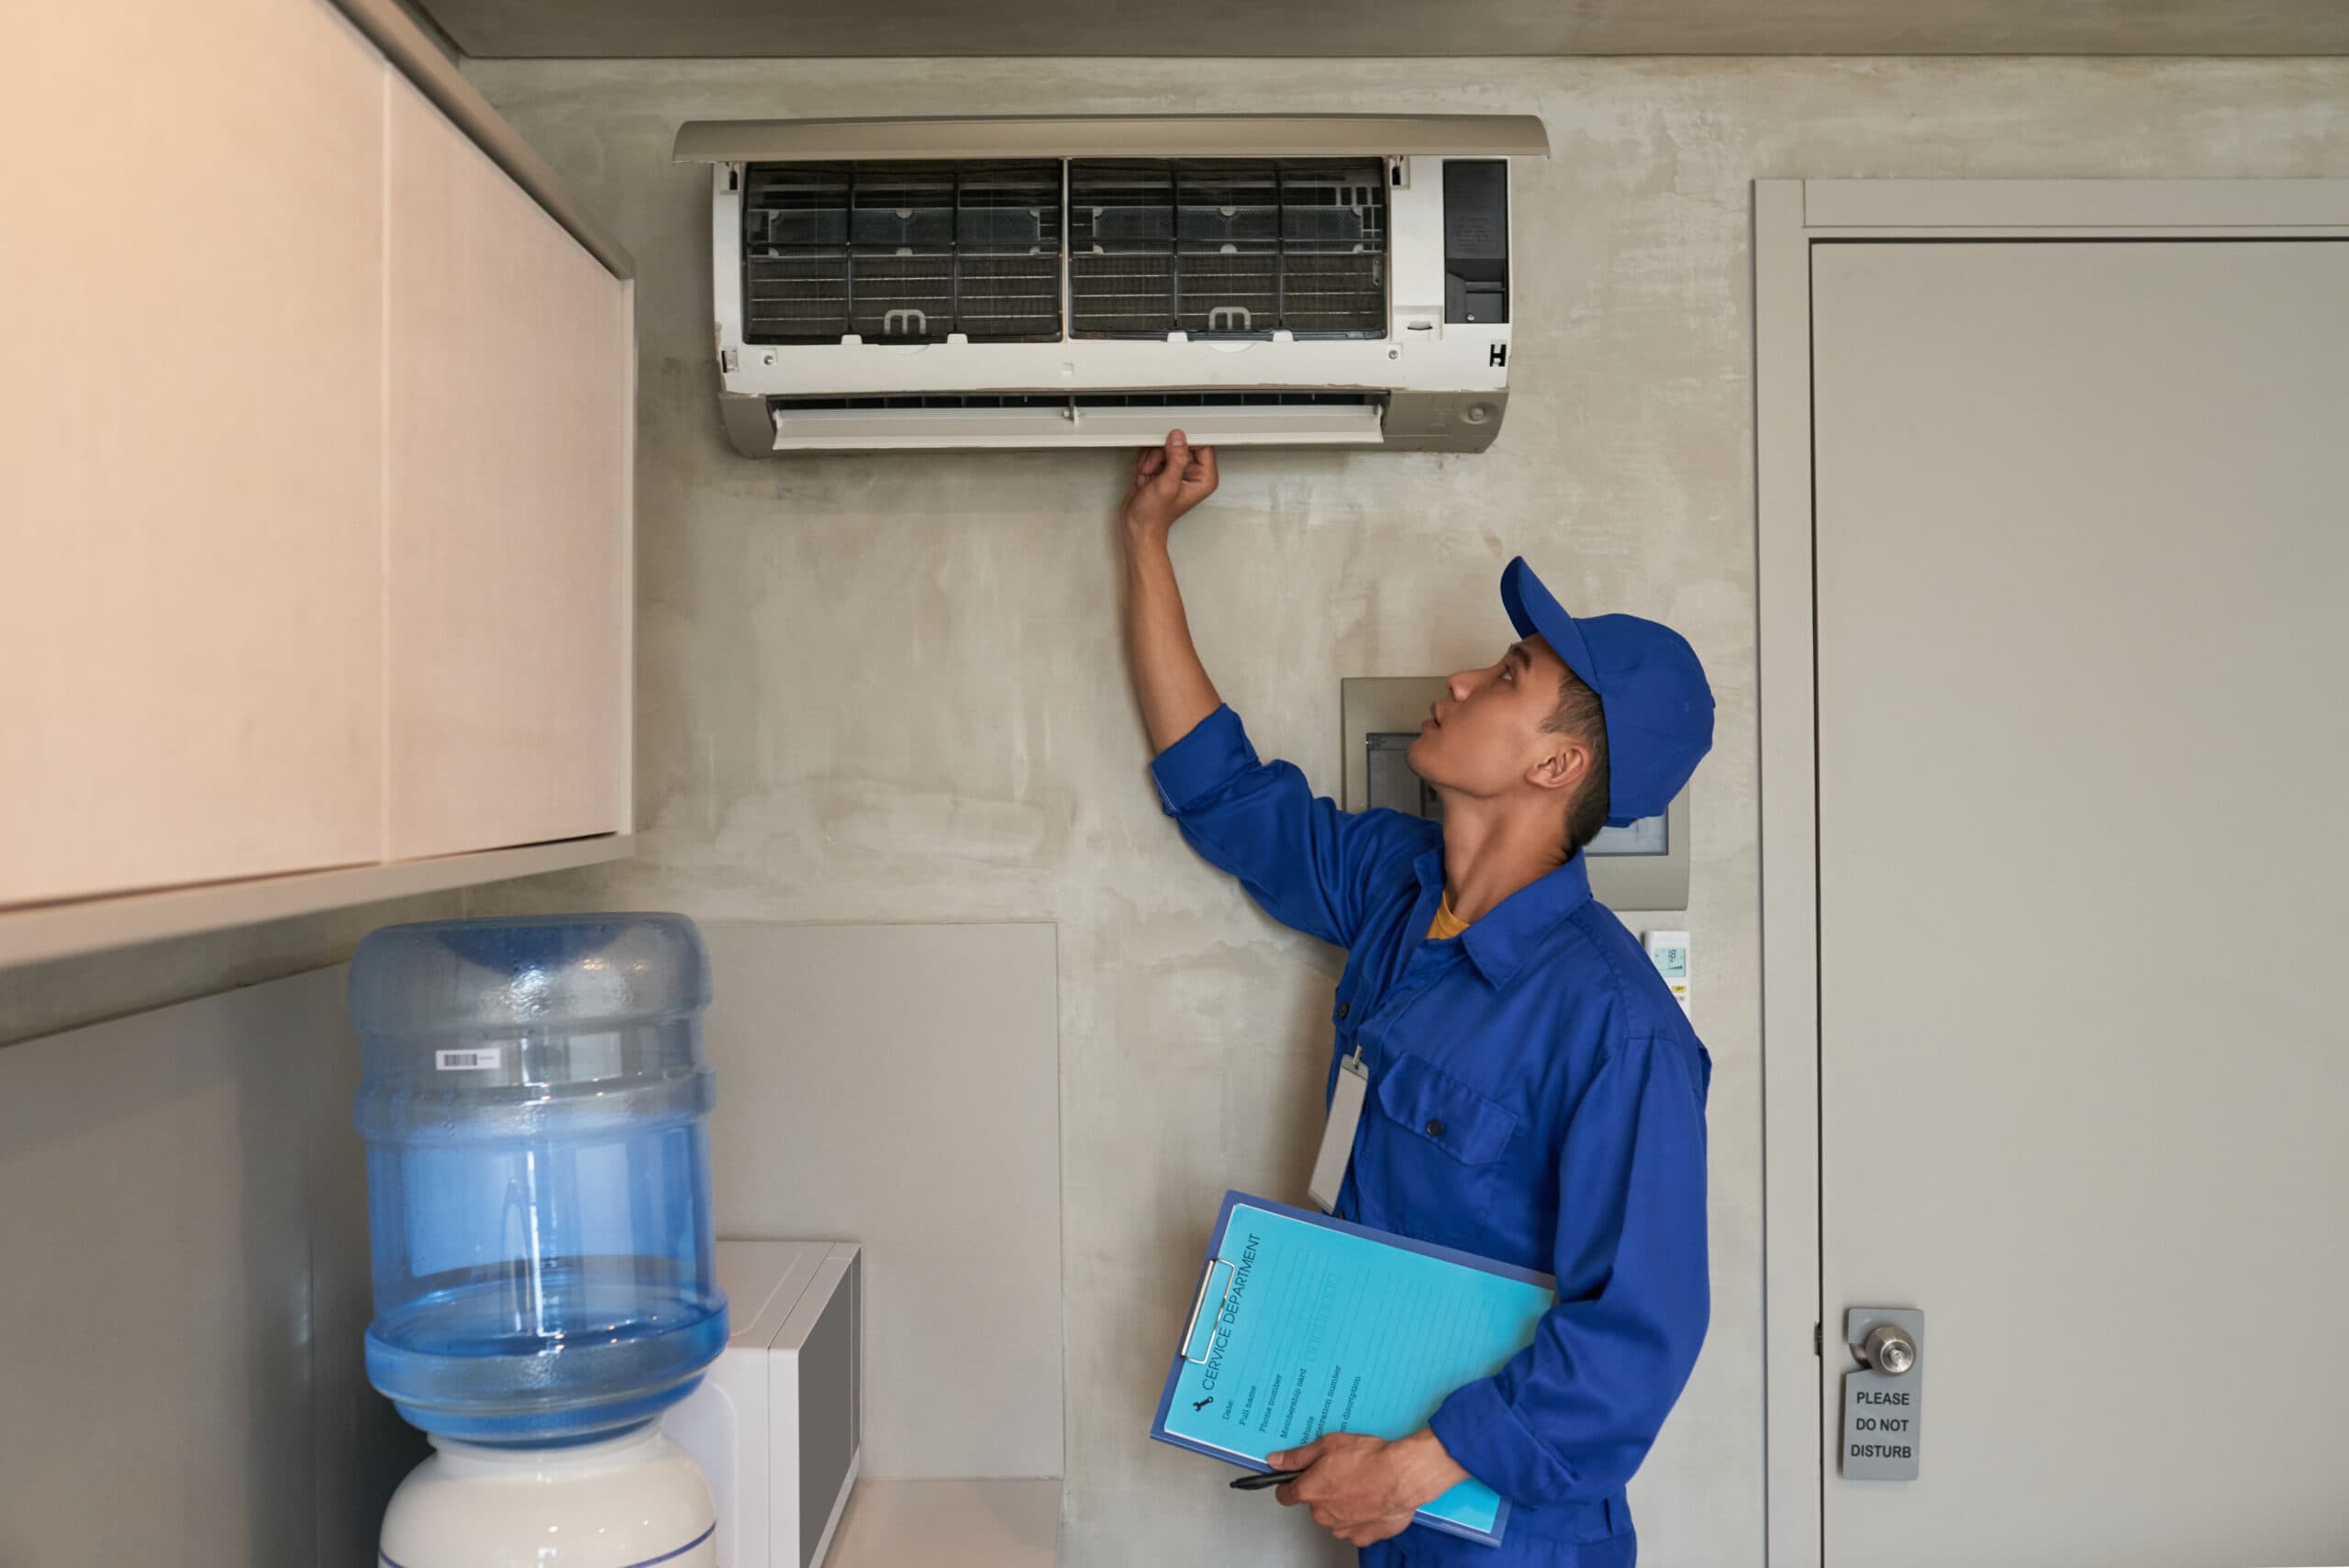
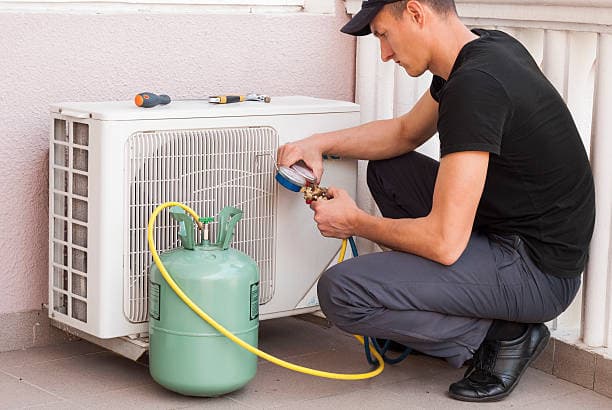
When To Call A Professional
While DIY maintenance can go a long way, some issues require expert attention. Contact a professional if:
- Cooling is still weak after cleaning
- Persistent moldy or chemical odors remain
- Your aircon leaks or makes strange noises
- You haven’t serviced your unit in over a year
- You’re unsure about handling internal components
Final Thoughts
Doing your own aircon chemical wash isn’t as intimidating as it sounds—with the right precautions and step-by-step approach, it’s a rewarding way to keep your unit running efficiently.
Regular maintenance like this can extend your aircon’s lifespan, improve indoor air quality, and help you avoid costly repairs. Just remember: when in doubt, get help from a certified technician.